
Script to Monitor Facebook Ads Change History in Google Sheets
Managing Facebook Ads campaigns can be challenging, especially when it comes to keeping track of changes and optimizing performance across different accounts. Although many Google Sheets add-ons allow exporting Facebook Ads reports to Sheets, none of them seem to support retrieving Facebook Ads change history. That’s why I developed an App script that automatically checks for changes made within a specific timeframe, reviews the full change history of an account, and monitors all changes.
I built this solution by utilizing the Facebook Marketing API and Google App scripts. Follow the steps below to begin.
If you’re interested in a similar solution to track change history in Google Ads, you can take a look at this Google Ads Script.
1- Create Facebook App
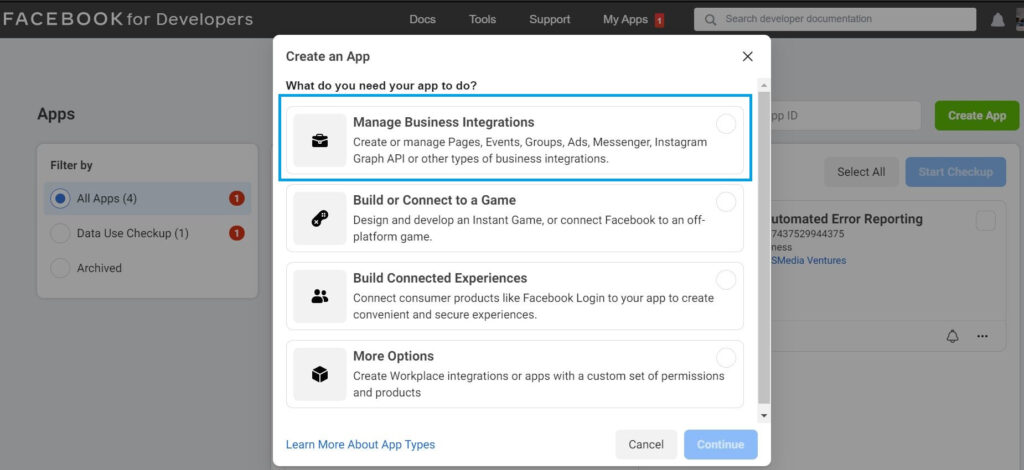
Navigate to the Facebook for Developers website and click on ‘Create App’. From there, select ‘Manage Business Integrations’ and provide additional information such as the App name and contact details.
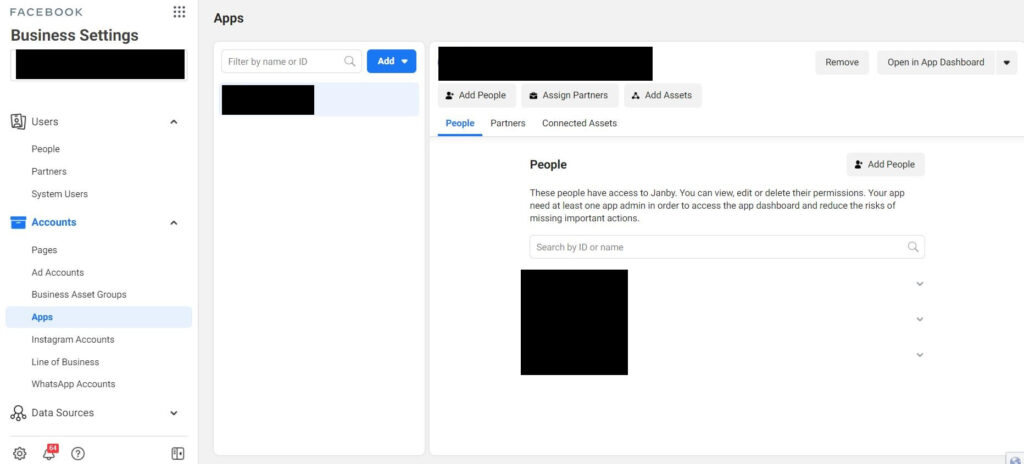
Once you have created the app, navigate to your business manager settings and click on ‘Apps’. Then, click on ‘Add’ and link your new app to the business manager.
Next, select ‘Add Assets’ and choose the ad accounts for which you would like to pull reports.
2- Generate your Access Token
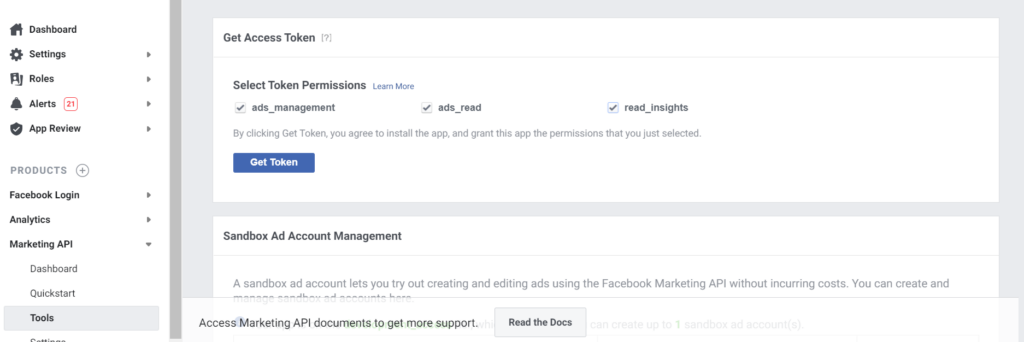
After creating the app, navigate to the Marketing API > Tools section and select all three token permissions. Then, click ‘Get Token’ and copy the token that is generated. Be sure to save your token, as you will need it in the following steps.
3- Configure your Google App Script
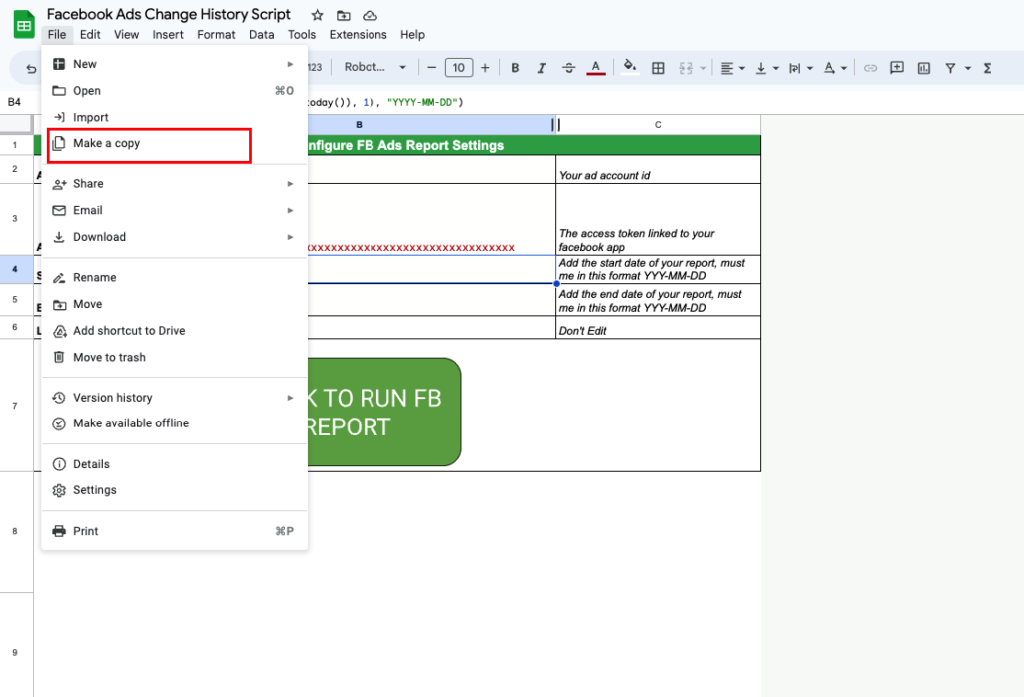
Make a copy of this Google Sheet.
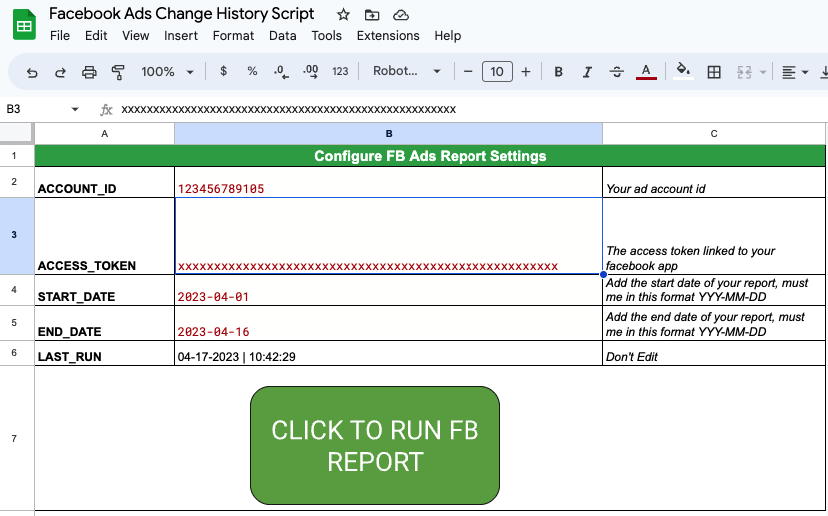
To configure the script, you need to add all your relevant details in the config tab:
ACCOUNT_ID: this should be your ad account ID
ACCESS_TOKEN: this is the access token we we generated earlier from the Facebook App
START_DATE: this should be the start date of your report, must be in this format YYYY-MM-DD
END_DATE: this should be the end date of your report, must be in this format YYYY-MM-DD
To make the start and end dates dynamic, you can use formulas. For instance, if you want to get data from the beginning of this month until yesterday, you can use the following formulas:
START_DATE: =text(date(year(today()), month(today()), 1), "YYYY-MM-DD")
END_DATE: =text(today()-1,"yyyy-mm-dd")
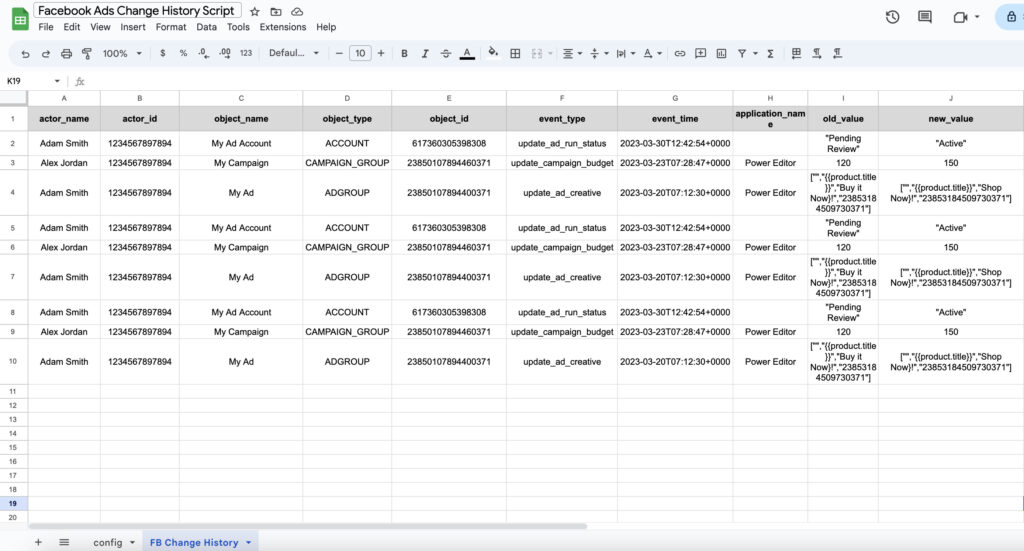
After completing your report configuration, simply click ‘Run report’. The data should be exported in the ‘FB Change History‘ tab, which will appear similar to the account activity example below:
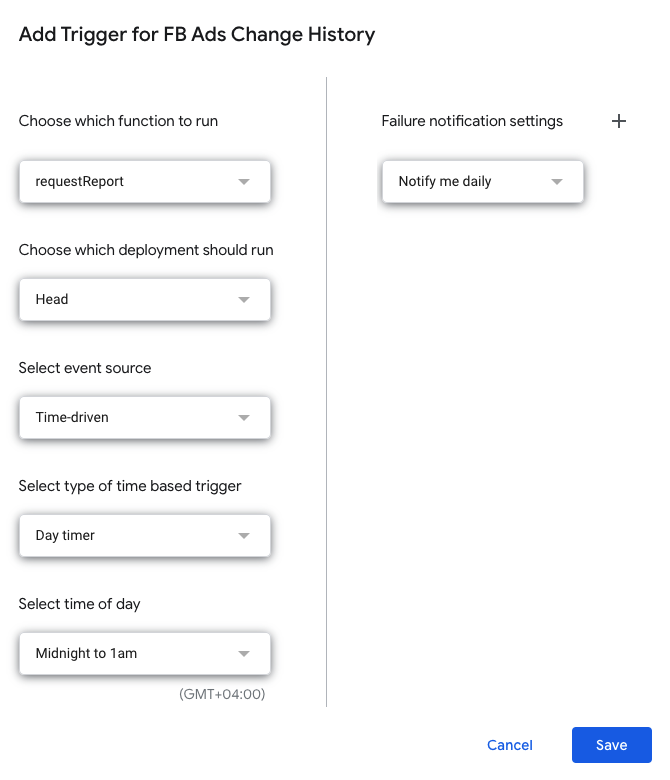
To schedule the script to run continuously, navigate to Tools > Script Editor. Within the script editor, click on ‘Triggers’, and then select ‘Add Trigger’
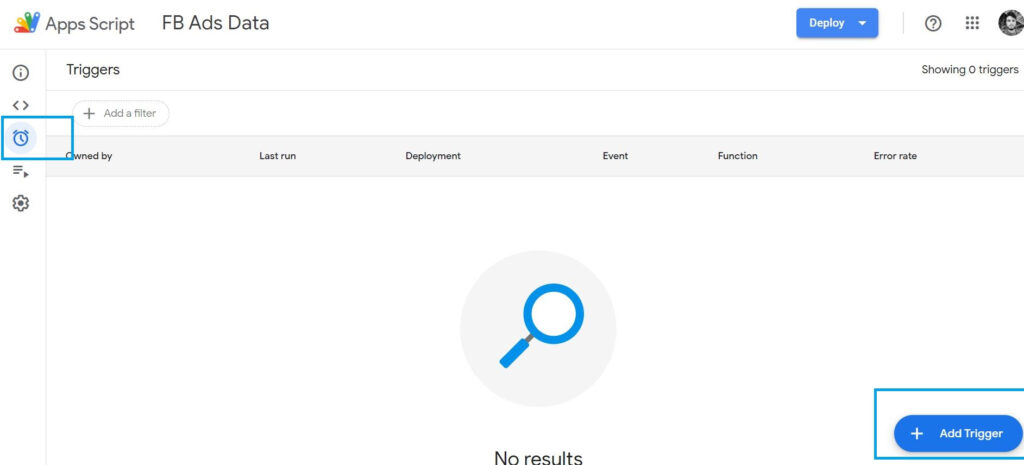
Select from the ‘Choose which function to run’ dropdown menu requestReport. The rest of the fields are set per your needs, like the type of the time trigger and the actual time.
Please try it out and let me know if you have any questions in the comments section below.

Entrepreneur focused on building MarTech products that bridge the gap between marketing and technology. Check out my latest products Markifact, Marketing Auditor & GA4 Auditor – discover all my products here.